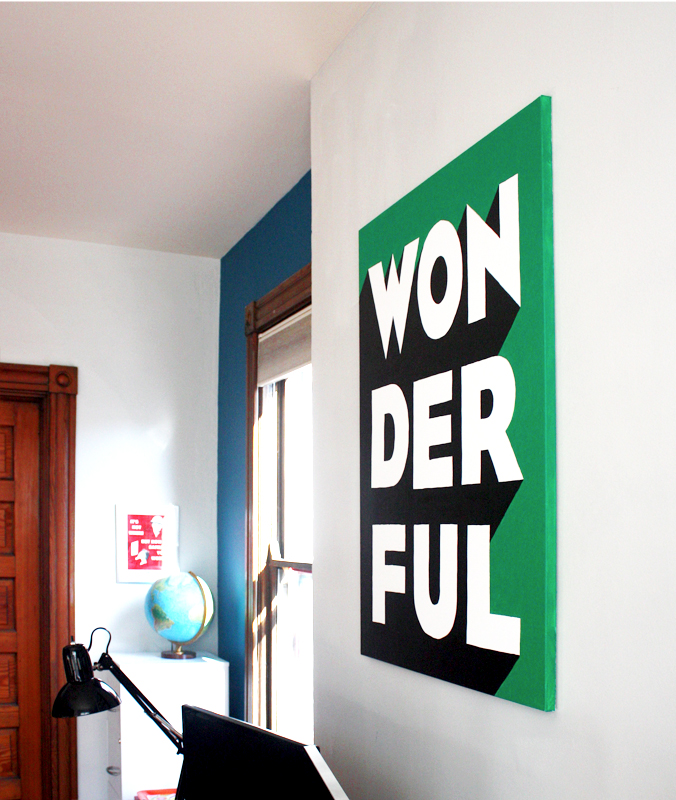
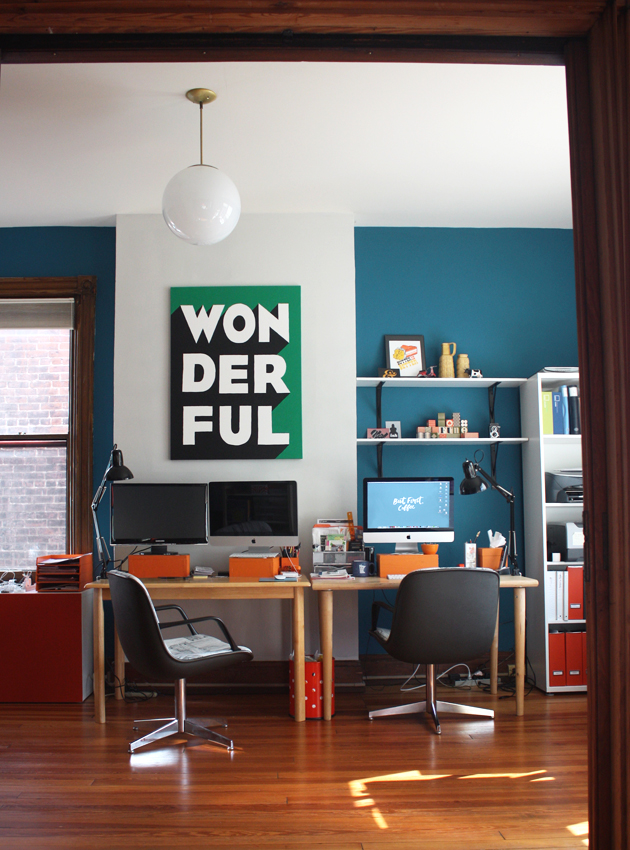
I’ve been waiting to find something wonderful to hang on the empty chimney wall in our office. I finally got tired of searching and painted a DIY placeholder. It will do the job until I either win the lottery or find an affordable, huge… something. After posting a photo on Facebook, I had requests for a tutorial, so here’s how to make your own “wonderful” typographic wall art.

You will need:
A 30″ x 40″ canvas or other surface to paint on
Paint
Paintbrush
Tape
Graphite transfer paper
Ballpoint pen
Ruler
Printer
This downloadable template:
– Tiled version (Sixteen 8.5″ x 11″ pages with 0.75″ overlap) OR
– Single page version (30″ x 40″ if you can print this big!)
(Do not use file for commercial purposes or financial gain; personal wall beautifying only.)
What to do:
1) Print out the template PDF at 100% size.
2) Tape the sheets together to form one large template.
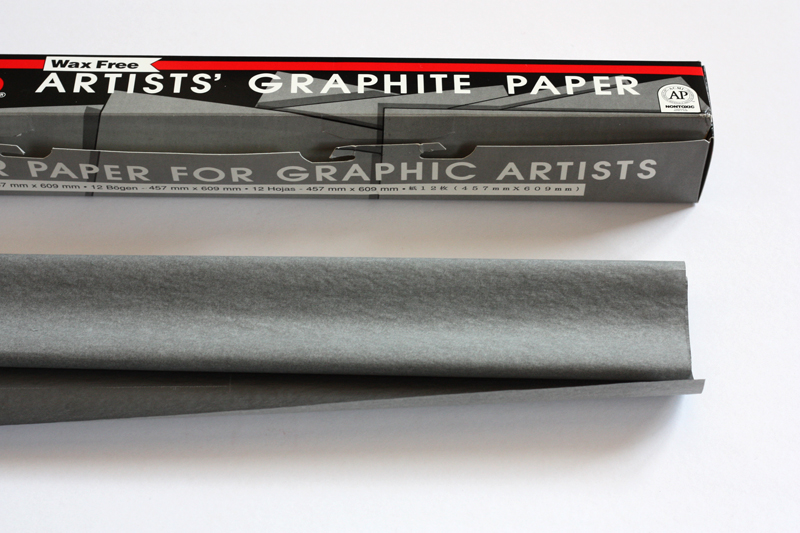
3) Trace letters onto a canvas using graphite tracing paper placed under your template. Drawing the lines with a pen and ruler will help you keep track of where you’ve traced and keep your lines straight. Taping the papers to the canvas will help keep the design from shifting.

4) After tracing, go back and beef up any hard-to-see areas. It’s no fun painting when you can’t see your lines!
5) Paint the design in your favorite colors. I’ve used both artist acrylics and latex house paint with good results on canvas. Depending on the quality of your paint, you may need two coats to get perfect, even coverage.

6) Hang your wonderful masterpiece.
